

Organization
If the account has many users (maybe on different departments) it can be useful to organize them in an organizational chart.
An organizational chart is also required to be able to use the Internal billing service.
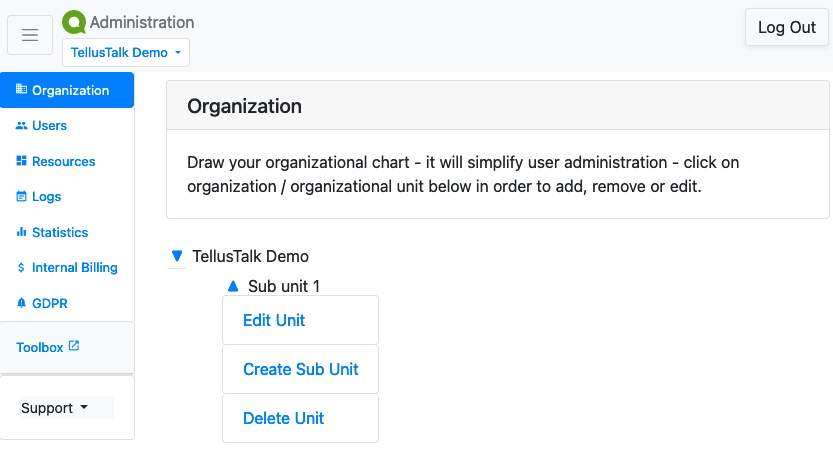
Click the blue arrow to create a sub unit. Give the unit name in the Name field and if you are going to use the Internal billing module you can alsu add your own billing id. This code will be displayed along with the unit and its traffic fees when you extract the monthly billing summary.
You sub units are visible in the list of Users, where you can create new users for each sub unit and move users between them.